
Buying a home with the idea of rehabbing it can be a daunting task even for the most experienced house flippers. There are plenty of factors to consider, timelines to set, and budgets to create for the property to be a profitable one when it comes to selling it.
The most important thing by far to keep in mind is how you will go about your renovation efforts. Ideally, you want to work in a way that is efficient, cost-effective, and has the right order so you don’t waste labor doing things twice. The order you choose to do your renovations in will make a big difference to how much stress you carry for the duration of the project.
We’ve put together this 5-minute guide to teach you everything you need to know about rehabbing a house from start to finish.
Table of Contents
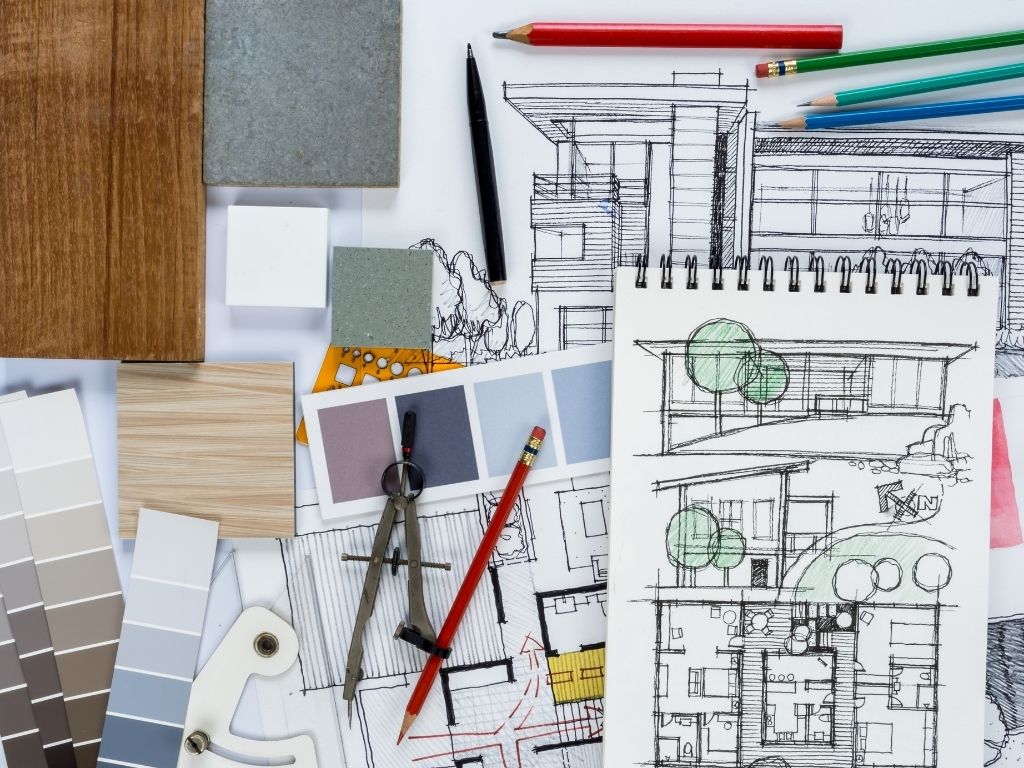
Step 1: Preparing The Property

The very first thing you need to do before any renovations start is to do a full inspection of the home. Most house flippers make use of a professional in this case, usually before even closing on the property. For now though, you just want to do a walk through with a professional inspector and make note of what is in good condition, and what will need to be repaired or completely replaced.
The professional property inspector will be able to fill in all the gaps that you might not know about and will have the latest information on home safety standards. This is especially important if you have purchased an older home. Many older properties are beloved for their unique features like bigger square footage, but can also be home to a host of safety hazards and issues like popcorn ceilings, lead pipes, and more. These need to be removed and replaced safely to bring the home up to modern standards.
You can find a qualified inspector to do a walkthrough with you by contacting the American Society of Home Inspectors. Some of the basics they need to check with you will include any heating systems found in the home, the heating system, air-conditioning unit or HVAC, plumbing, electrical, visible insulation, and other structural elements like walls, ceilings, and the roof.
During this inspection, you should be taking photographs for your own personal records and to help you know which areas are the highest priority. The final cost of the inspection will come down to the size of the property.
Step 2: Create A Checklist And Budget
Now that you have a clearer idea of what renovations will need to be done, it’s best that you set up a checklist for yourself. This can help you stay on top of your project timeline and ensure that you don’t accidentally skip anything. Your checklist should include the interiors and exteriors of the home and include as much detail as possible. Your results from the property inspection can be used as a starting point for your checklist.
The other thing the checklist will assist with is estimating how much needs to be budgeted for repairs. You’ll want to go through each repair, get some quotations as to what it will cost, and add them here for reference. If the cost of repair is too high, this is your opportunity to look around and see where you can save on the biggest expenses.
The most important thing when it comes to budgeting for a house rehab is to leave wiggle room for the nasty surprises that can come from flipping a home. It’s common for unexpected costs to come up and if you prepare for this eventuality beforehand you can minimize how much it will affect you.
The other thing you want to think about is what you plan to ask for the property when all renovations have been completed. It’s essential that you manage your renovation costs in a way that still leaves you with room for profit once you sell it.
Step 3: Employ A Good Contractor

At this point, you’ll be ready to start the rehab process with the help of a contractor. Finding the right contractor is key to the overall success of the renovation, and are best found through referrals, local real estate investment associations, or building departments. Make sure to take the time to do your due diligence on the contractor’s previous work before giving them full reign.
Ideally, you’d like to have a contractor with at least a few years of experience, who has a supporting network of employees to help get the job done and is licensed by the state. You should also ask whether they are insured for general liability and workers’ compensation.
The contractor that you ultimately choose will likely need to inspect the property personally and help you plan your budget and timeline accordingly. Once you’ve completed this step, you will know how long everything will take, what it will cost, and how it will be managed.
Step 4: Apply For The Permits You Need
Certain building permits may be required for you to rehab the home you have purchased. These permits ensure that no violation of local building codes is taking place. It’s best to speak to your local building department directly and to give them the scope of the project – they can recommend exactly what you need to do.
In general, some of the permits you may need will be for new wiring, adding to the floor space, or making adjustments to anything that connects to a public sewer line. Other big tasks like roofing, painting, and floor replacements usually do not need a permit. Your chosen contractor should be able to assist you with the process of applying and obtaining these permits.
Step 5: Break It Down

This is where the real fun stuff starts! By now you are ready to do any demolition or removals needed, whether it be leftover trash within the home or breaking down of walls. You’ll want to get rid of all the items that are irreparably damaged or that are going to be replaced such as cabinets, light fixtures, toilets, and more.
Next, you’ll want to look at any problems with the existing roofing or foundations. If the roofing needs to be replaced, it should be done before any interior repairs are put into action. You don’t want to run the risk of having water leak into the interiors.
Step 6: Start With Installations
From here, you can start working on installing things like new doors, trims, and other fixtures. Exterior doors and windows should be done first to make sure the home is safe from intrusion and protected from the elements. This will also add to the curb appeal of the house and pique the interest of passers-by. Remember that installing a new entry door is a good way to upgrade the look of the home on the outside.
You’ll also want to go ahead and start work on the heating and plumbing systems, and the ventilation or air conditioning. This typically goes hand in hand with your other electrical work which can be completed at the same time.
If you’ve done any work to the walls, you can start finishing off the plasterboard, either by installing new ones or repairing the existing ones.
Step 7: Paint The Interiors

With all the major renovations completed, you can paint the ceilings and walls. If you’re looking for spaces to save in, this is one of them; you can easily take on the labor of painting yourself.
If you do decide to DIY this process, make sure you adequately protect all the flooring with a tarp or plastic and use masking tape to ensure there is no overlap or messy lines.
The walls should ideally be wiped down before painting, and all of the worst dirt from renovations removed. When the paint has dried, you can move on to adding the light fixtures and built-in appliances.
The flooring of the property is also sometimes installed under this step. This is because you do not get wet paint on it, and you want to minimize the damage caused by traffic in and out of the home. You want everything to look fresh and untouched by the time buyers are coming to view the home!
With all interior work complete, do a last inspection of the work done and make sure last touch-ups have been done. A thorough cleaning would not be out of place here either.
Step 8: Landscaping And Finalizing Exteriors

With interiors complete, you can do the last work needed on the property exterior. This is the time you turn your attention to the landscaping, exterior painting and other touches that make the property attractive from the outside. It’s best to start working your way from the front to the back so that the view from the street is good as early as possible. The backyard can be handled last.
Try to be proactive in your landscaping efforts. If you’re planning to put in tenants, you may want to go for plants that are low maintenance. You’ll also want to consider how these plants will grow in the future – you don’t want to plant anything that will obscure the windows after some time for example.
Final Thoughts
Rehabbing a house can feel like an uphill battle at times, but like most things in life, it’s best to take things one step at a time. As long as you do your research and carefully pre-vet all your contractors and subcontractors, you should be able to flip a property within budget and according to a set timeline.
Just remember to prepare some additional funds in case something unexpected pops up or you need to cover a cost not previously planned for. House flipping can be volatile, especially if you’re trying to renovate an older home. Working with an experienced contractor will be a make or break decision for you as a house flipping investor, and their importance cannot be underestimated.
Lastly, try to enjoy the process. While it can be chaotic at times, there is something heartening about taking a home and giving it a new life.